Mastering The Art Of Sourdough Starters For Perfect Loaves
If you’ve ever tasted a freshly baked loaf of sourdough bread, you know just how addictive it can be. The crisp crust, the slight tang, and the moist, tender interior make for a truly irresistible combination. But what sets sourdough bread apart from its yeast-based counterparts? The answer lies in its starter, a mixture of flour and water that acts as the leavening agent for the bread. Learning how to master the art of sourdough starters is the key to achieving perfect loaves every time.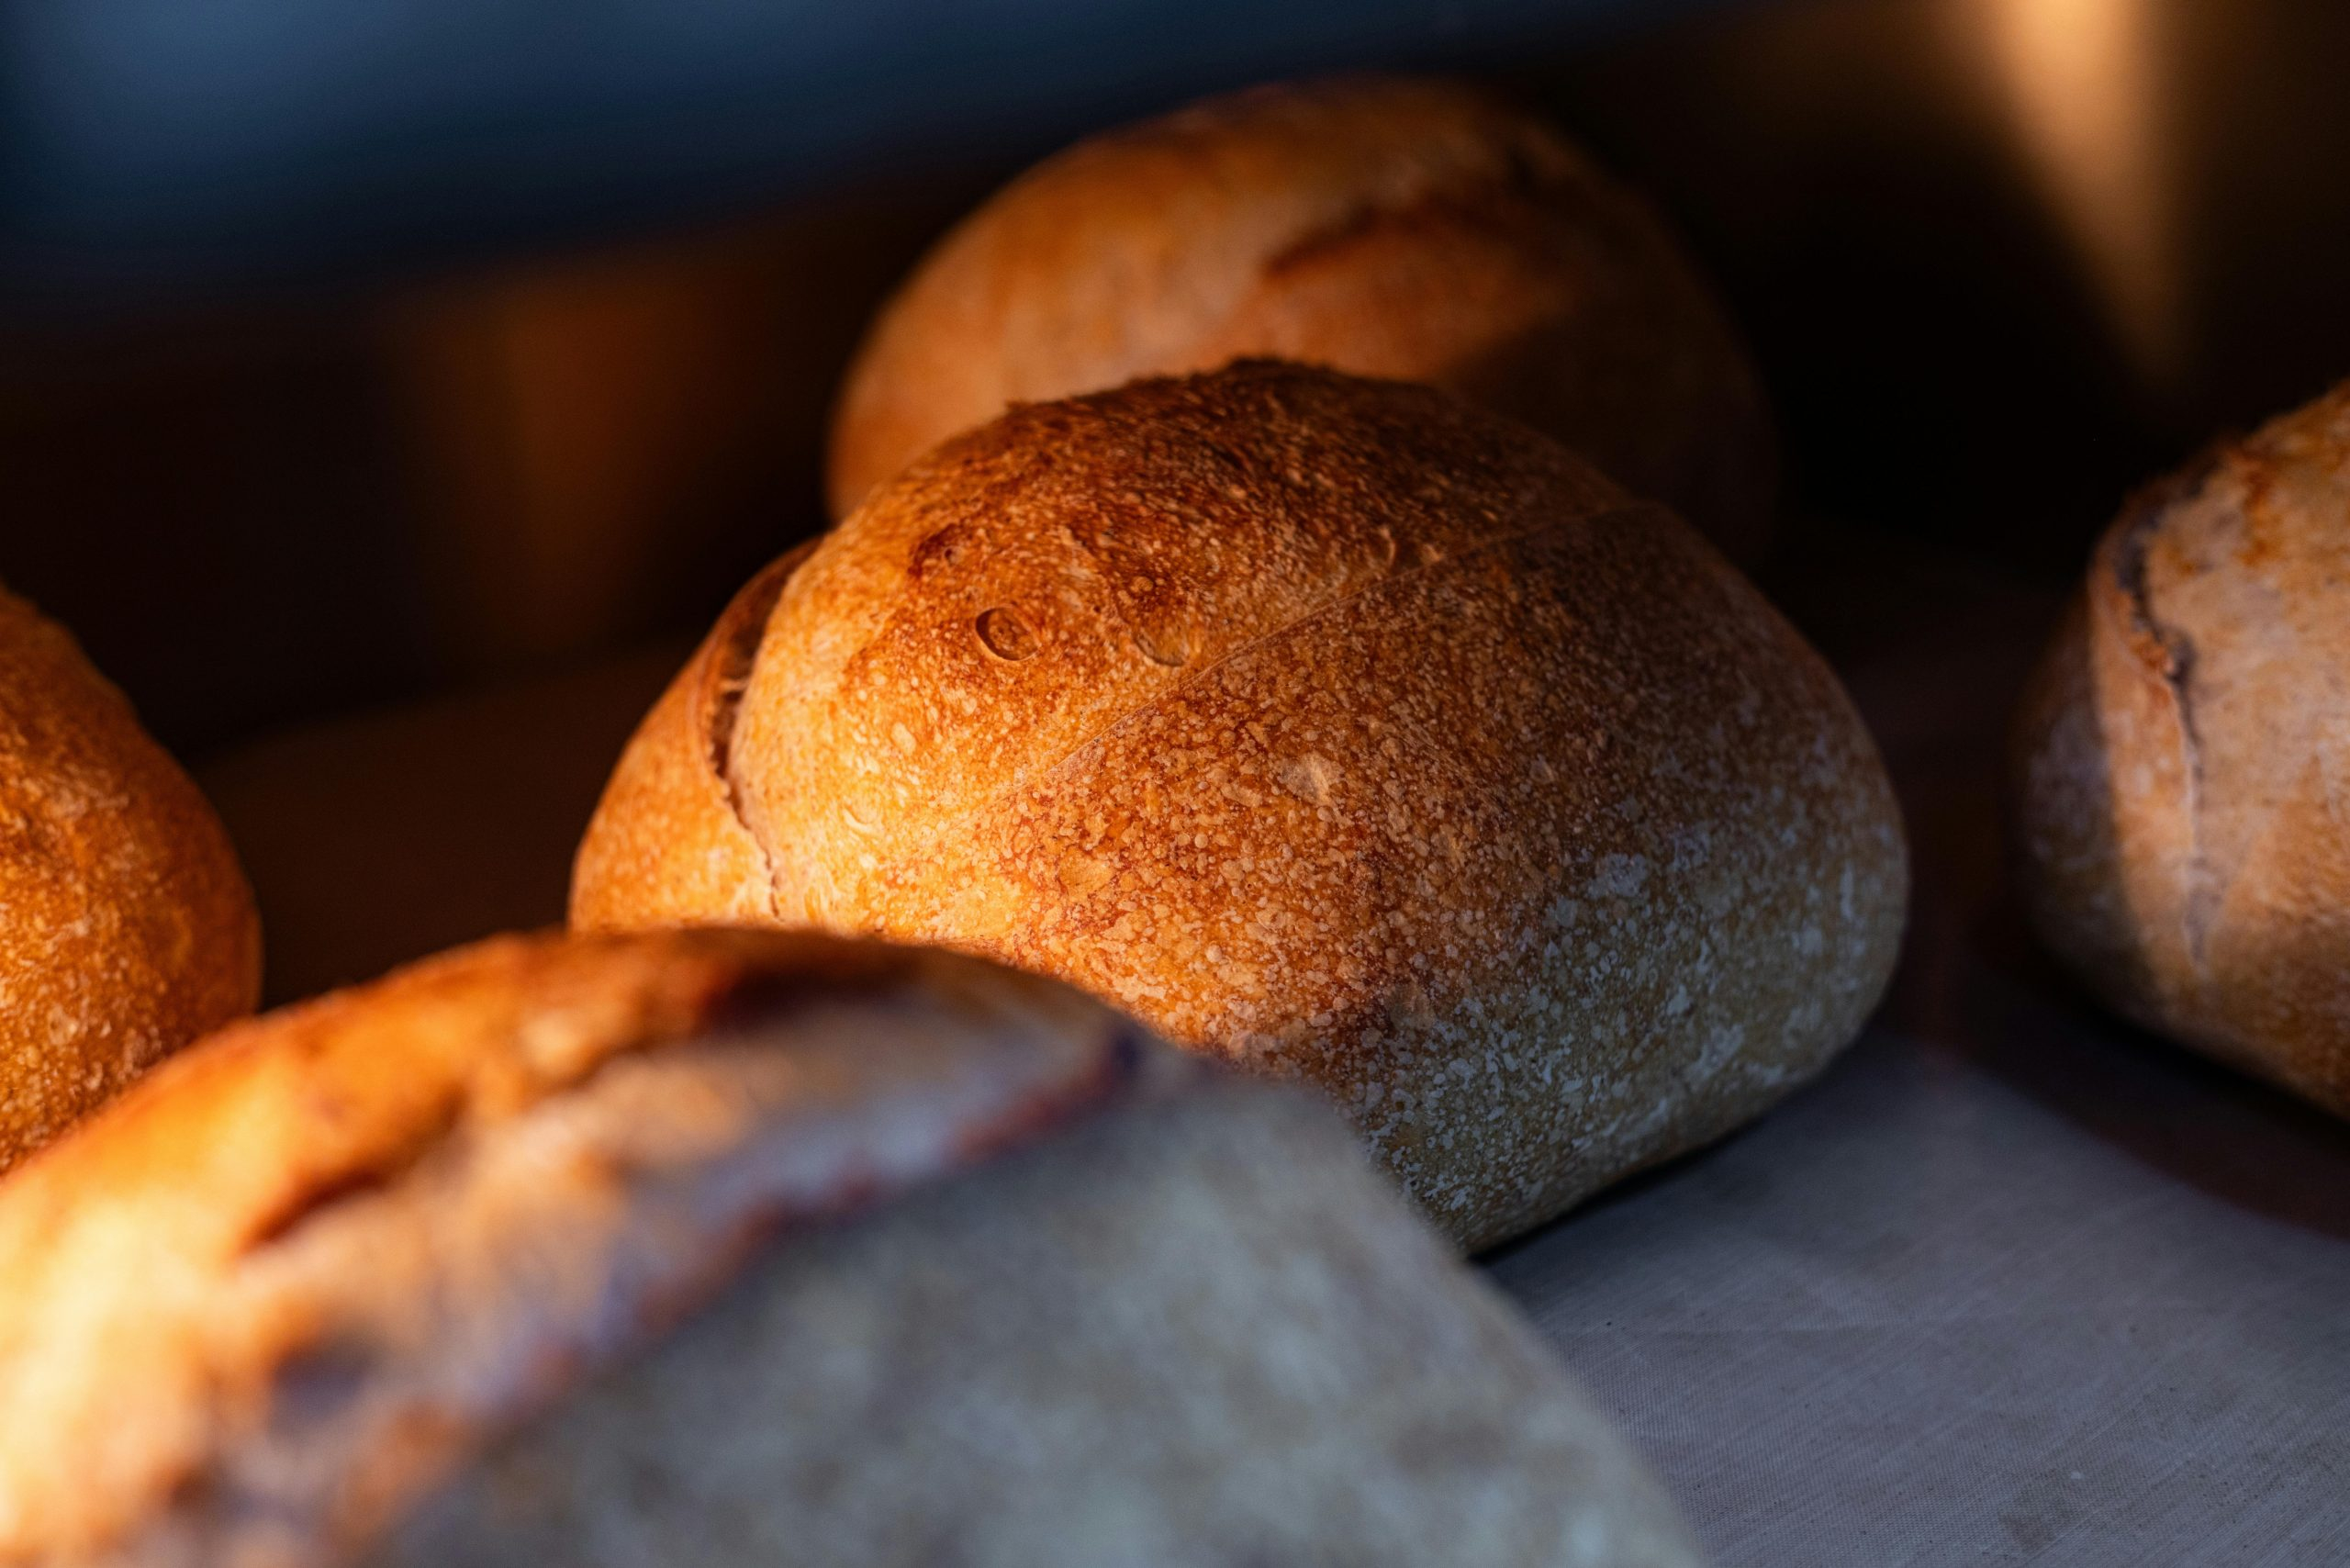
What is a Sourdough Starter?
A sourdough starter is essentially a live culture of wild yeast and bacteria. The ingredients are simple – flour, water, and time. As the mixture sits, the natural yeast and bacteria present in the flour and environment begin to grow and ferment, giving the starter its distinct flavor and ability to leaven bread.
The Importance of Quality Ingredients
When it comes to sourdough starters, quality ingredients are key. This means using high-quality flour, preferably unbleached, and filtered water. Avoid using tap water, as the chlorine and other chemicals can inhibit the growth of beneficial bacteria in the starter. You may also choose to use whole grain or whole wheat flour to give your starter a nutritious boost.
The Feeding Process
To keep your starter active and healthy, you’ll need to feed it regularly. This involves discarding a portion of the starter and replenishing it with a fresh mixture of flour and water. The discarded portion can be used to make sourdough pancakes or other baked goods, or simply discarded. The frequency of feedings will depend on your starter’s activity and room temperature, but generally, it should be fed every 12-24 hours.
Creating the Perfect Environment
Temperature and humidity play a significant role in the success of a sourdough starter. Ideally, the room temperature should be between 70-85 degrees Fahrenheit, and the humidity should be around 70%. If your home is on the cooler side, you can place your starter near a warm appliance, like the refrigerator or oven, to help it thrive.
Troubleshooting Common Issues
Starter Not Rising
If your starter isn’t rising, there could be a few reasons why. It may not be getting enough food or time to ferment, or the environment may not be suitable. Try adjusting your feeding schedule or moving the starter to a different location.
Thin or Watery Starter
A thin or watery starter is a sign that it needs to be fed. If the starter sits for too long without being fed, the liquid may separate from the flour and water mixture. Simply give it a good stir, discard a portion, and feed it as usual.
Funky Smell
A sourdough starter should have a slightly sour, tangy smell. However, if it starts to smell putrid or moldy, it may be contaminated. In this case, it’s best to discard the starter and start anew with fresh ingredients.
Using Your Starter for Baking
Once your starter is active and healthy, it’s time to start using it for baking. When incorporating the starter into your bread recipe, it’s important to note that it may not act like commercial yeast. This means that the rising time may be longer, and you may need to adjust your recipe accordingly. But with practice and experimentation, you’ll soon become an expert at using your sourdough starter to create the most delicious loaves of bread.
In conclusion, mastering the art of sourdough starters is a journey that takes time, patience, and a whole lot of love for bread. With quality ingredients, a consistent feeding schedule, and the right environment, you’ll be well on your way to achieving perfect loaves that will have everyone begging for the recipe.